Guides and Tutorials
Removing an Icon from the ImageManager at Design Time
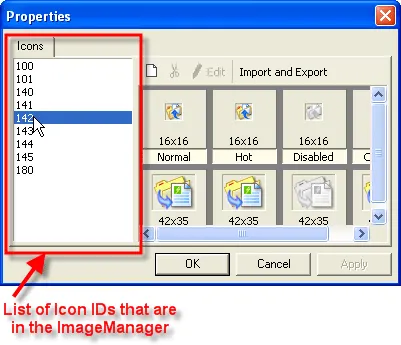
To remove an icon from the ImageManager at design-time, simply click on the ID from the list of Icon IDs listed on the left of the Properties dialog for the icon your want to remove. You can see the list of Icon Ids in the picture below. In the picture, the icon with ID 142 has been clicked.

If you have added multiple images sizes as in the picture above, then you will need to delete the different sized images individually. This allows you add or remove different images sizes without re-adding anything.
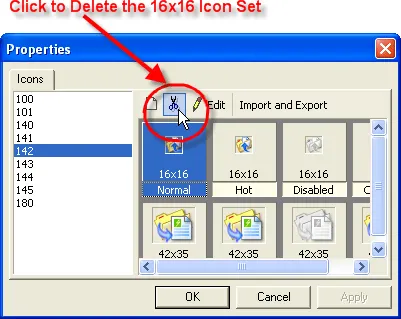
Now click on the icon that you want to remove. In the picture below, the 16x16 set of images will be removed, you can click on any one of the image states.
Now click the scissors  button to remove the icon. You will need to repeat this process for each set of icon sizes. Notice that the scissors button remains disabled until an icons is selected.
Now the 16x16 icon set has been removed, if you have multiple icons sets as in the picture above, the you will now have to remove them. In the picture below, only the 42x35 size icon set is remaining.
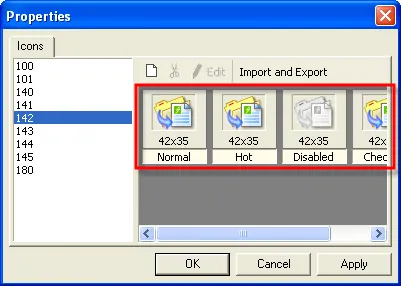
After you remove all the different image size sets for an Icon ID, then that ID will be removed from the list of Icon Ids on the Properties dialog. In the picture below, you will see that Icon ID 142 has been removed.

User Comments
No comments yet, sign in to comment.